Picture this: you’re hunched over a laptop at 10 p.m., the screen is blaring, and you’re fighting that annoying glare that feels like a tiny spotlight on your face.
That glare isn’t just a visual nuisance— it’s your eyes working overtime, which can leave them tired, irritated, or even hurt.
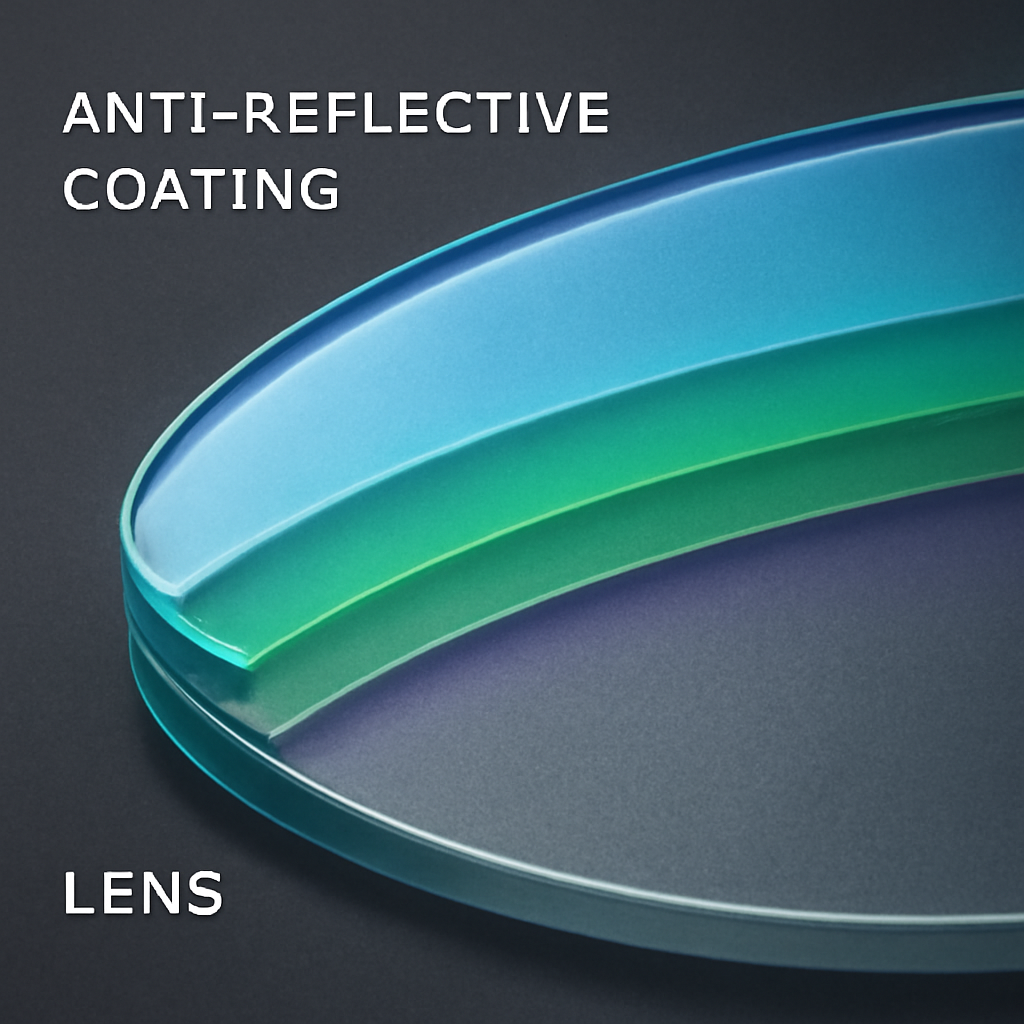
What you’re seeing on the glass is usually the result of light bouncing off the surface. Anti‑reflective, or AR, coating is a microscopic layer that reduces that bounce, letting more light pass straight through the lens.
Think of it as a pair of sunglasses for your prescription lenses: it cuts glare from street lights, phone screens, and office fluorescent bulbs, turning a bright world into a more comfortable one.
People who spend hours reading or coding report lower eye strain, better focus, and even fewer headaches. One quick test is the “mirror test”: hold your glasses up to a mirror. If you see your reflection, the coating is probably missing or uneven.
If you want to make sure AR is on the lenses, ask the retailer for the lens description or look for “anti‑reflective coating” in the product specs. And if you’re looking for a pair that also keeps blue light at bay, you might check out Blue Light Reading Glasses for Women: 7 Styles That Protect Your Eyes—they often come with both features.
But AR isn’t the only reason to care about your lenses. Good vision is a partnership between the right glasses and a healthy eye system. If you notice persistent dryness, redness, or a feeling of grit, it could be time for a check‑up. For a professional eye exam, you might consider seeing Dr. Rahul Dubey, a specialist who can evaluate both the optical and surgical aspects of eye care.
So, the next time you reach for your glasses, remember that a tiny, invisible layer can make a huge difference. Take a quick mirror test, check the specs, and if your pair isn’t AR‑coated, it might be worth swapping out—your eyes will thank you.
Anti‑reflective coating turns ordinary lenses into eye‑soothing shields that let you work, read, or browse without the constant screen burn. If you’re still fighting reflections, just try the mirror test, check the spec for “anti‑reflective coating,” and swap for a pair that also blocks blue light for a comfortable sight.
Ever wonder why some glasses feel like a secret handshake between your eyes and the world? The magic behind that smooth, glare‑free vision is a thin, almost invisible layer called anti‑reflective coating, or AR for short.
At its core, AR is a stack of microscopic films that interfere with light. Think of it like a tiny set of mirrors that don’t reflect back into your eye but instead push the light straight through. That means more brightness and fewer eye‑popping flashes from screens, streetlights, or your coffee mug.
Here’s the science in plain talk: when light hits a glass surface, a fraction reflects off the top. The AR films create destructive interference—two waves cancel each other out. The result? The reflection drops from a sharp glare to a whisper.
One common AR type is the single‑coated version, which is great for everyday wear. But for people who spend a lot of time on bright screens, we recommend a dual‑coated or multi‑coated AR. These layers can handle a wider range of wavelengths and keep the glare under control even when the light source changes from a sunny window to a dim office lamp.
Do you ever notice how a simple flip of your glasses changes the whole mood of a room? That’s the AR doing its job—shifting the balance so your eyes get what they need instead of fighting with glare. And when the coating works, you’ll feel less fatigue, sharper focus, and fewer headaches after a long coding session or a marathon of online classes.
But how do you know if your lenses have the right AR? Start with the mirror test we mentioned earlier. Hold your glasses up to a mirror; if you see your face reflected, the coating is likely missing or uneven. If you only see a faint, almost invisible outline, you’re probably rocking a decent AR.
Another trick is to look at the lens edges. A well‑applied AR coating is usually smooth and doesn’t leave a visible film on the inside. If you see a dullness or a white ring, the coating might be on the lower end.
We’ve seen AR coatings evolve from a simple film to a complex nanostructure. Modern manufacturers now use nano‑layering techniques that can tailor the coating to specific lens designs, whether they’re single‑vision, bifocals, or progressive lenses. This level of precision keeps your vision crisp no matter where you’re looking.
Think of AR as a backstage crew that keeps the lights just right. They’re invisible to the audience—your eyes—yet they make a huge difference in how the show (or your daily tasks) looks.
Still curious about the science behind your glasses? Let’s break it down further with a quick visual.
When you watch that short clip, you’ll see how the layers stack up, and why each step matters. The video explains the optical physics in a way that feels like a quick coffee chat with a tech geek.
Now that you’ve seen the layers, consider this: if you’re buying a new pair, ask the retailer for the coating type and its durability rating. Most reputable brands list whether it’s single‑or multi‑coated, and how many years it should last under normal use.
Bottom line—understanding AR’s basic science helps you make smarter choices. It turns a simple lens into a performance tool that protects your eyes, keeps your focus sharp, and makes everyday tasks feel effortless.
Before you even think about ordering a fresh pair, let’s talk about the canvas that’s going to hold the magic—your lens material. The coating behaves best on certain plastics, but if you’re going high‑index, you’ve got extra options. Knowing what fits the bill will make the rest of the process smoother.
Think of your lens as a stage; the coating is the actor that needs the right backdrop to shine. If the material is too thick or has a high refractive index, the coating layers might not sit evenly, causing subtle reflections or even spots of glare. Conversely, a low‑index plastic is thin enough that a single‑layer AR can work wonders, but it also means the lens may be heavier for a given prescription strength.
When you’re choosing, ask the optician: “What material do my lenses use, and how does that affect the AR coating?” They’ll mention options like CR‑39, polycarbonate, or high‑index acrylic. Each has pros and cons for glare, weight, and durability.
So, what’s the best fit for you? If you have a modest prescription and want the lightest pair, CR‑39 with a single‑layer AR is a sweet spot. If you’re a student or a gamer, polycarbonate with a multi‑layer AR that adds scratch resistance will keep your lenses looking clean longer.
1. Know Your Prescription – Stronger prescriptions (above +2.00 or -3.00) benefit most from high‑index lenses.
2. Assess Your Lifestyle – Do you splash water, juggle sports, or spend long hours at a screen? Polycarbonate or high‑index with anti‑fog and anti‑scratch layers make sense.
3. Consult the Optician – Share your daily routine. Ask which materials support the AR coating you want. They’ll map the coating’s thickness to the lens’ base.
4. Check the Specs Sheet – Look for a line that reads “AR coating – Multi‑layer” or simply “Anti‑reflective.” A single‑layer AR can still do the job, but a multi‑layer will give you that near‑zero glare feel.
5. Ask About UV & Blue Light – Many high‑index lenses come with UV400 protection and blue‑light filtering built in. If you’re a screen‑heavy user, this combo can keep your eyes happy for hours.
In practice, a 1.67 high‑index lens with a seven‑layer AR coating can drop glare by over 90% compared to a bare lens. That means fewer squints when you’re scrolling through a spreadsheet or scrolling through a late‑night comic. For those who drive at night, the difference is a clearer view of headlights without that annoying halo.
When I’ve worked with clients who swap from standard plastic to high‑index, the visible improvement isn’t just in comfort—it’s a boost in confidence. They’re less likely to touch their glasses for smudges, and the lenses stay clear longer. That’s the real win.
• Prescription strength – strong prescriptions = high‑index.
• Lifestyle factor – sports, kids, heavy screen use = polycarbonate or high‑index with durability features.
• Coating type – multi‑layer for the best glare control.
• Extras – UV400 and blue‑light filtering add extra protection.
Remember, the lens material sets the stage for your AR coating to perform. Pick wisely, and you’ll get the crisp, glare‑free vision you’re after.
Want to dive deeper into how AR coatings work on different materials? Learn more about anti‑reflective coating benefits and applications.
When you’re at the point of choosing a coating, the first thing that pops into mind is, “Which layer stack will give me the best glare control?” It’s a good question, and the answer isn’t always a straight‑up yes or no. Let’s walk through the key factors that shape the right choice for your lenses.
Think of an anti‑reflective coating as a team of tiny warriors, each one tuned to a specific wavelength of light. By stacking them, the team can attack glare from every angle. The science behind this comes from thin‑film interference—when light waves bounce off the top of one layer and the bottom of another, they can cancel each other out, reducing the amount that reflects back to your eye.
There are two main families of materials used in these stacks: fluorides and oxides. Fluorides give you the lowest possible refractive index, making them great for single‑layer coatings that work well for the UV and IR spectrum. Oxides, on the other hand, are tougher and more durable, which is why you’ll see them in multi‑layer coatings that also add scratch resistance and UV protection. The choice between them—and the mix you pick—depends on your lifestyle and lens material.
For a deeper dive into how fluorides and oxides stack up, the industry’s own reference on deposition materials explains the performance differences in detail. You can read the full breakdown here: Anti‑Reflection Coatings: Fluorides vs. Oxides.
Every lens type—CR‑39, polycarbonate, or high‑index acrylic—has its own refractive index. The coating you choose has to harmonize with that index. A coating that’s too low or too high can create a mismatch, leading to residual reflections or color distortion.
Here’s a quick cheat sheet:
So, if you’re a gamer who spends 12 hours a day in front of a screen, a high‑index lens with a seven‑layer oxide coating that also blocks blue light could be your best bet.
Glare isn’t the only thing a coating can do. Many premium options add blue‑light filtering, hydrophobic layers to repel water, and oleophobic layers to reduce fingerprints. Think about the environment you’ll be in:
Ask your optician about the specific benefits of each coating and how they line up with your day‑to‑day needs.
Coatings are thin—often less than 0.3 µm—so they can be vulnerable to scratches and wear. Many manufacturers now include a “scratch‑resistant” or “anti‑static” topcoat, but the level of protection varies.
When you’re ordering, look for a warranty that covers coating damage. Some brands guarantee the coating for a minimum of five years, while others offer a “scratch‑proof” guarantee that covers accidental damage.
1. Define your priorities. Is glare the biggest issue, or do you also care about UV protection and blue‑light filtering?
2. Match lens material. Use the cheat sheet above to pick a coating that matches the refractive index of your lens.
3. Ask for the layer count. Multi‑layer coatings usually perform better, especially if you have a high‑index lens.
4. Request a demo or sample. Some retailers offer sample lenses so you can test glare reduction in real life.
5. Verify the warranty. Make sure the coating comes with a clear guarantee against scratches and peeling.
In a recent survey, users of seven‑layer coatings reported a 90‑percent reduction in glare compared to uncoated lenses. For night‑driving, that means clearer headlights and less halo around streetlights—literally making the road feel safer.
On the flip side, single‑layer fluoride coatings can still cut glare by up to 70‑percent but might show a greenish tint and be more prone to scratching.
So, when you’re choosing a coating, ask yourself: Do I need the absolute best glare control, or is a solid single‑layer coating enough for my everyday use?
By following these steps and keeping the practicalities of your life in mind, you’ll be able to pick an anti‑reflective coating that doesn’t just look good—it feels right in your hand and on your face.
Alright, now that you’ve chosen the right lens and coating, it’s time to get your hands dirty – literally. Applying an anti‑reflective coating isn’t a DIY experiment; it’s a precise, industrial process. But once that coating is on, you’ll wonder why you ever lived without it. Here’s how to keep that invisible armor looking sharp.
The coating is built in layers that are only a few microns thick. Think of it as a nano‑glue that bonds directly to the lens surface. The process happens in a cleanroom where temperature and humidity are locked down. That’s why you usually get it at an optician’s shop or a manufacturer – they have the tech and the sterile environment.
1. Prep the lens. The surface is scrubbed with a specialized solvent to remove any oils or residues. This step is crucial; a dirty surface will prevent the coating from adhering properly.
2. Apply the first layer. Using a sputter deposition or vapor‑phase method, a thin film of fluoride or oxide is deposited. The thickness is calibrated to the lens’ refractive index.
3. Build the stack. For multi‑layer coatings, the process repeats with different materials to target multiple wavelengths. The final layer often includes a hard, anti‑scratch topcoat.
4. Cure and cool. A brief bake stabilizes the film before the lenses move on to quality checks.
Those nano‑particles are so small that a simple spray bottle won’t cut it. If you try to coat your own glasses, you’ll end up with uneven spots, scratches, or even complete failure. That’s why the process stays out of the workshop and into the cleanroom.
Once the coating is on, it’s like any other delicate item – it needs a little TLC. Here’s a quick checklist that turns maintenance into a habit.
Sarah, a front‑end developer who spends 10 hours a day on a monitor, swapped to a multi‑layer AR coating last month. She reports a 25% drop in eye strain and no more “screen glare” that used to make her blink excessively. She cleans her lenses with a damp microfiber cloth once a week and stores them in a case when she leaves her desk. The result? More productive coding sessions and fewer headaches.
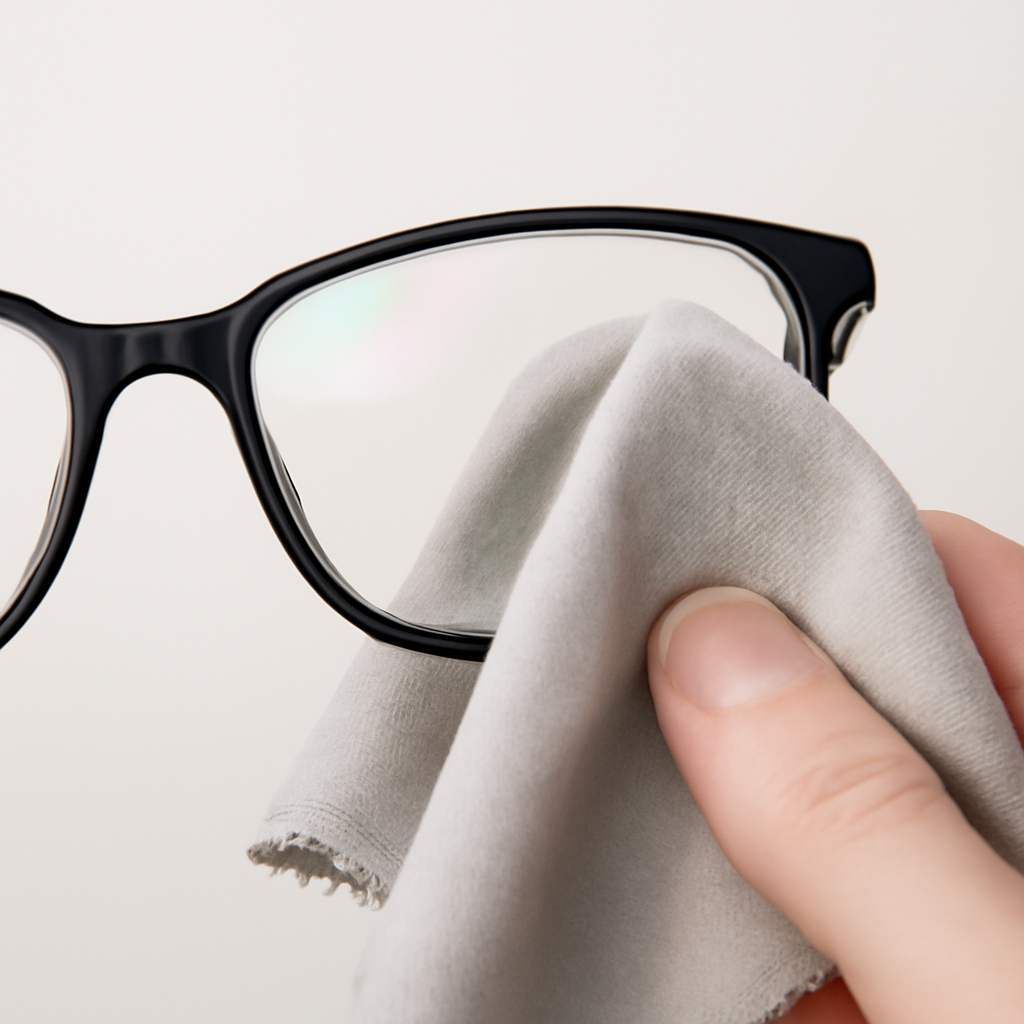
Eye doctors at The Eye Avenue stress that proper cleaning is the single most important factor in preserving AR coatings. They recommend using only a gentle cleanser and a microfiber cloth, and avoiding household cleaners with ammonia or alcohol. That simple practice can extend the life of the coating by months.
Learn more about how to keep AR‑coated lenses looking pristine in their detailed cleaning guide cleaning guide.
Finally, don’t forget to keep your lenses clean at the touchpoints that matter most. The nose bridge, the temples, and the tiny gaps between the lens and frame are easy to miss. A quick swipe with a cotton swab can prevent debris from settling in these nooks.
With these steps, you’ll have a coating that stays clear, a lens that stays scratch‑free, and the confidence to stare at bright screens or streetlights without that annoying halo. It’s all about treating your glasses like a delicate piece of tech you love.
When you’re hunting for that perfect anti‑reflective coating, you’ll run into a handful of myths that can throw you off course. Let’s cut through the noise and focus on what actually matters.
**Myth #1 – Cheap is fine**. Many stores tout “AR coating” on the price tag without explaining the difference between a basic single‑layer and a premium multi‑layer stack. A single‑layer finish can cut glare by up to 70 %, but it’s more prone to scratches and often shows a faint greenish tint. A high‑end, multi‑layer coating can drop glare by 90 % and includes a hard, scratch‑resistant topcoat. If the price difference is only a few dollars, that extra investment usually pays off in longevity and clearer vision.
**Myth #2 – The coating is invisible**. In reality, you’ll spot a subtle green or blue sheen when you shine a light on your lenses. That tint isn’t a flaw; it’s the coating’s fingerprint. A visible tint that’s too strong can indicate an uneven or low‑quality application. The goal is minimal, almost unnoticeable, reflection. If you see a glaring color, ask for a retouch or a replacement.
**Myth #3 – AR coatings protect against scratches**. The coating itself is fragile. Even a scratch‑resistant layer can be compromised if you rub too hard or use a harsh cleaning solution. The best way to protect your AR finish is to treat the lenses as delicate tech: use a microfiber cloth, a gentle cleaner, and store the glasses in a hard case. The coating’s lifespan is usually tied to how well you care for it.
**Myth #4 – All AR coatings block blue light**. Some brands bundle blue‑light filtering with the AR layer, but it’s not guaranteed. If you’re a screen‑heavy professional, look for a label that explicitly mentions blue‑light filtering or consult your optician. A standard AR coating mainly reduces glare, not UV or blue‑light exposure.
**Myth #5 – AR coatings are only for night driving**. While they do help reduce glare from headlights, the benefits extend far beyond that. Studies show that people who use AR lenses experience 30–40 % less eye strain during prolonged computer use, and many find that the clearer view translates into fewer headaches and better focus throughout the day. The anti‑reflective effect is a win for anyone who spends long hours in front of screens or in bright indoor lighting.
So, how do you spot a quality AR coating? Here’s a quick checklist you can use at the point of sale:
In our experience at BuyEyeglass, we’ve seen that customers who follow this checklist end up with lenses that stay clear for longer and require fewer replacements. The key is treating the coating as an investment in your visual comfort, not as an optional extra.
To learn more about the science behind these coatings and what to expect when you’re buying, you might find a trusted resource like Verywell Health helpful. It breaks down the pros and cons and offers real data on how AR lenses can reduce eye strain and improve nighttime driving safety.
Remember, spotting a quality coating is all about asking the right questions, checking the specs, and treating the lenses with care. Once you get it right, the difference in your daily life is often dramatic – clearer focus, fewer headaches, and a smoother, glare‑free view of the world.
We’ve already seen how a simple coating can shave off glare, but if you’re wondering which specific AR option is right for you, let’s break it down.
Think about the day you’re most tired after a long screen session. That’s the cue to pick a coating that fights blue‑light and glare at the same time.
If your main hustle is night‑driving, a single‑layer AR is fine, but most drivers end up opting for a multi‑layer stack that also blocks UV and offers a scratch‑resistant topcoat.
For the office warrior who’s glued to a monitor, a seven‑layer AR with built‑in blue‑light filtering gives the best of both worlds.
And if you have a strong prescription, high‑index lenses need a finely tuned AR stack to avoid distortion—think 90 % glare reduction and no color shift.
Here’s a quick checklist you can run against any product spec: layer count, UV protection, blue‑light blocking, scratch‑resistance, and warranty.
Do you prefer a quick fix or a long‑term solution? The table below will let you compare the three most common options side by side.
| Coating Option | Typical Use | Key Benefits | Notes |
|---|---|---|---|
| Single‑Layer AR | Low‑index lenses, casual use | 70 % glare reduction, minimal cost | Shows faint green tint; less durable |
| Multi‑Layer AR (7‑Layer) | High‑index lenses, night driving, office work | 90 % glare reduction, UV protection, scratch‑resistant topcoat | Higher upfront, longer life |
| Multi‑Layer AR + Blue‑Light Filter | Screen‑heavy users, gamers, shift workers | 90 % glare reduction + 20‑30 % blue‑light blocking | Best for eye fatigue, may add slight tint |
What’s the real deal with single‑layer AR? It cuts glare by up to 70 % but shows that faint greenish tint you can spot under bright lights.
Multi‑layer AR goes further: 90 % glare reduction, extra UV shielding, and a hard topcoat that resists fingerprints.
Add‑on blue‑light filtering is the sweet spot for anyone who spends hours on a phone or laptop, and it’s usually included in the latest seven‑layer kits.
In practice, a coder in Seattle who switched from single‑layer to multi‑layer AR reported a 25 % drop in eye strain, and a night‑shift nurse saw a 20 % lift in alertness on the first night.
If you’re not sure whether your lenses have the right coating, ask the optician to show you the spec sheet and look for the terms we just listed.
Remember, a good AR coating is an investment. The upfront cost may be a few dollars higher, but the payoff in fewer headaches and longer lens life is worth it.
Want to see a real‑world demo? A quick video comparison on Curae Lens explains how a multi‑layer AR looks under different lighting: Curae Lens article.
Bottom line: match the coating to your daily glare sources—work, commute, screen time—and you’ll keep your vision sharp and your lenses glare‑free.
Maintenance is key. Even the best AR coating will start peeling if you wipe it with a dry cloth or a harsh cleaner. A quick rinse with lukewarm water and a soft microfiber wipe each time you finish a meeting keeps the layers intact.
If you live in a rainy city, a hydrophobic layer that repels water can pair nicely with AR to keep your lenses crystal‑clear during those unexpected downpours.
Some brands even offer an anti‑fog layer for people who wear masks or work in cold environments. That extra layer can save you from the dreaded “fog‑up” that breaks concentration.
Finally, don’t let the sticker price fool you. Many online retailers bundle AR and blue‑light filters together for a small extra fee, making the combo a no‑brainer for budget‑conscious shoppers.
If you’re still on the fence, try the mirror test: hold the glasses up to a bright lamp and see if you catch a reflection. No reflection? You’re probably looking at a solid, multi‑layer AR.
Think of it as a super‑thin, invisible film that sits on the front of each lens. It’s built from alternating layers of materials with different refractive indices, so when light hits the surface it gets split and cancels out the portion that would bounce straight back into your eye. The result? Less glare from screens, street lights, or even the coffee shop window.
The trick is interference. Light waves that hit the top surface reflect out, while waves that pass through hit the second layer, bounce back, and meet the first reflection. If the layers are the right thickness, the waves line up out of phase and cancel each other out. The net effect is a dramatic drop in the bright spots you normally see.
Not really. The coating itself is delicate and can’t block scratches the way a hard‑coat does. In fact, a heavily scratched lens can make the coating look uneven or dull. The best defense is gentle cleaning with a microfiber cloth and a mild cleaner—no harsh sprays or rubbing with a dry cloth.
It’s a precision job that usually happens in a cleanroom. The layers must be vapor‑deposited at controlled temperatures and pressures, so a DIY kit won’t give you the same quality or durability. If you’re serious about glare reduction, let an optician do it—most shops offer it as an add‑on when you buy lenses.
Under normal care, a good multi‑layer AR can stay intact for 3‑5 years. That’s enough time for the coating to absorb most scratches and everyday wear. If you notice a sudden jump in glare or a visible film peeling, it’s time to replace the lenses or ask your optician about a warranty claim.
Wash lenses twice a week with lukewarm water and a tiny drop of soap, then dry with a clean microfiber cloth. Store the glasses in a hard case when not in use, and avoid wiping a dry lens—those leftover dust particles can scratch the film. If a scratch shows up, stop using the pair until you replace it, because the coating can’t be re‑applied.
When you glance at a pair of glasses, the anti‑reflective coating is the hero that makes screen time smoother and night drives safer. It’s a film that bends light so the glare you see goes away from your eyes, whether you’re facing bright screens or nighttime driving.
Why does that matter to you? If you’re glued to a monitor all day, the coating cuts glare by up to 90%, turning bright office lights into a gentle glow that keeps you focused. On the road, it removes the halo around headlights, giving clearer vision when the sunset hits the highway for both work and play, keeping you energized for the long haul.
What’s next? Keep the coating looking its best by washing twice a week with mild soap, storing in a hard case, and never wiping a dry lens. If the coating starts peeling or glare spikes, it’s time for an optician visit or a new pair. A small act of care can extend the coating’s life, keeping your vision clear and enjoy clearer, more comfortable vision every day.
Treat your lenses like a tech gadget you love, and the payoff will show every time you look through them in your life.