Ever tried a pair of glasses that just feels…off? Maybe they sit too high, slide down your nose, or just feel like they’re not yours. The culprit is often something we overlook: temple length. Temple length is the distance from the hinge on the inside of the frame to the end that rests over your ear. If it’s too short, your frames will feel cramped; too long, they’ll feel like a loose lanyard.
So what does that mean for you? Picture this: you’re wearing your favorite pair of black Carrera frames, but each time they creep back, leaving a gap that forces you to lean forward. That little shift can distort your vision and make you feel awkward.
Here’s the quick win: grab a ruler or a soft measuring tape, slide it along the arm, and mark the distance from the hinge to the ear‑end. Compare that number to the temple length listed in the frame’s specifications. If they don’t match, you can often adjust the arms with a tiny screwdriver or visit a local optician. In many cases, tightening the arms is all it takes to bring your glasses back to a comfortable fit—check out How to Tighten Glasses Arms at Home: Simple Step‑by‑Step Fix for a quick tutorial.
But if you’re still feeling uncertain—especially if your vision is changing—consulting an eye professional is a smart move. An experienced optometrist or ophthalmologist can assess whether a new prescription, different lens type, or a frame with a custom temple length is needed. For example, Dr Rahul Dubey offers expert eye care in Sydney, ensuring you get the right fit and prescription in one go.
Remember: a well‑fitted pair of glasses not only looks great but keeps your eyes comfortable and your vision sharp. With a simple measurement, you’ll be one step closer to that perfect pair.
If you’ve ever felt your glasses slide or feel tight, the secret lies in knowing how to measure temple length on glasses, a quick check that can fix fit in minutes. Follow steps: grab a ruler, note the hinge‑to‑ear distance, compare it to the frame spec, and adjust for comfort.
Let’s get the basics down before we start fiddling with the arms.
Temple length is the stretch from the hinge inside the frame to the point that sits over your ear. If it’s a bit short, the glasses feel pinched; if it’s too long, they just hover like a slouching lanyard.
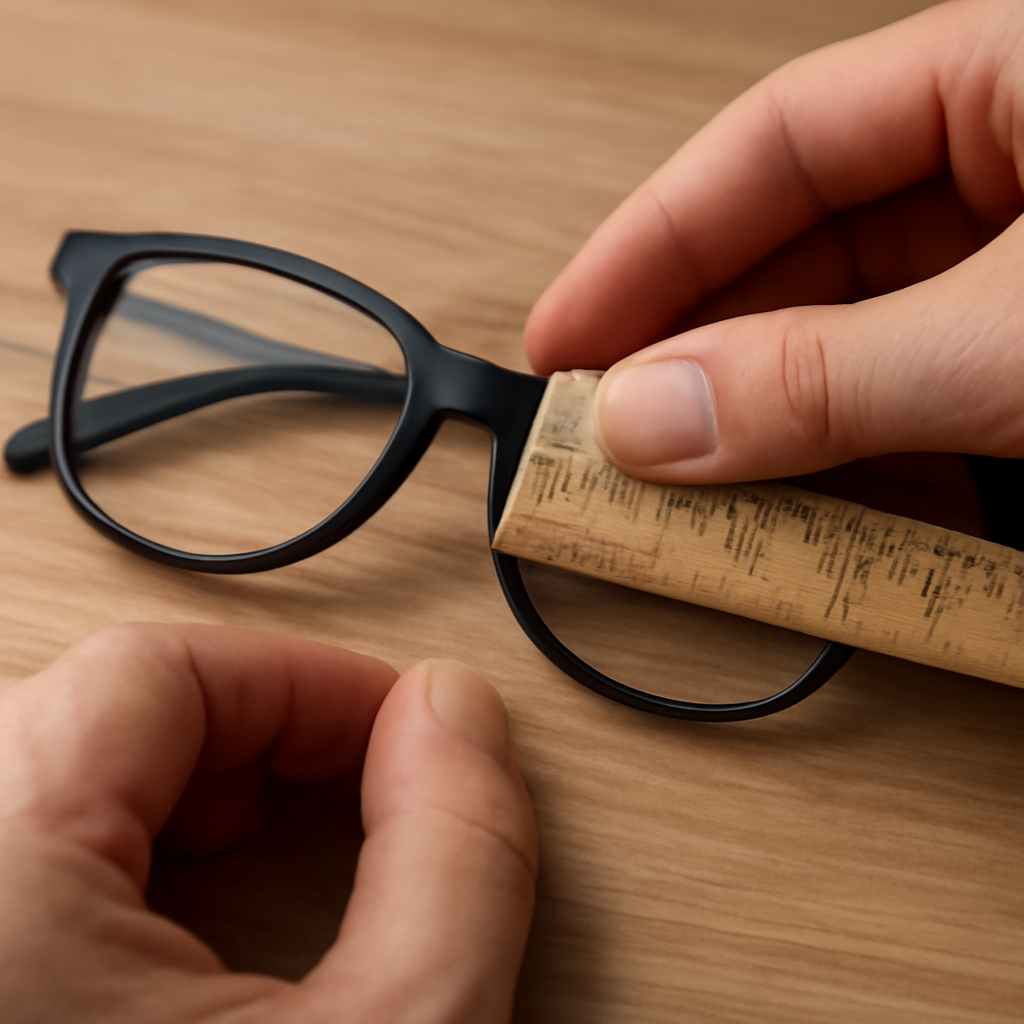
Grab a ruler or a flexible tape measure—anything that can fit snugly along the arm—and slide it from the hinge all the way to the ear‑end. Keep the tape flat against the plastic; no wavy lines.
Now, jot the number down. A single digit can be a game‑changer: 140 mm feels different from 145 mm on the same frame.
Next, pull up the spec sheet that came with the frame or look it up online. Most manufacturers list a temple length range; yours should land comfortably inside that bracket.
What if it’s outside? That’s when you either tweak the arm or pick a different pair. Tightening the arms can bring the length back in line, and our guide on How to Tighten Glasses Arms at Home: Simple Step-by-Step Fix walks you through the tweak with just a tiny screwdriver.
Remember, the hinge‑to‑ear distance is a quick sanity check—you can do it in a bathroom or on the sofa. If the number feels off, it’s worth a quick adjustment.
Now that you’ve seen a visual walk‑through, let’s ground this in the real world.

First, make sure you have the right tool. A standard 25‑inch ruler works fine, but a flexible measuring tape gives you a little more freedom if you’re dealing with a thicker arm.
Once you’ve got the ruler or tape, place it so the zero mark sits on the hinge. Slide it along the arm until you reach the ear‑end. Make sure the zero line stays straight; a crooked line can throw off the reading.
Mark the measurement on the inside of the arm with a pencil or a tiny dot. That way you can compare it later to the spec sheet or even to a friend’s frames.
If you find the number is a few millimeters off—say you measured 142 mm but the spec says 145 mm—you’re not doomed. Most frames can be adjusted by a few millimeters on either side without compromising style.
A quick DIY tweak is to use a small flathead screwdriver to gently turn the screws on the arm’s hinge. Tighten just enough to bring the arm to the measured length, then test the fit again.
If you’re not comfortable turning screws at home, a trip to a local optician can have a technician adjust the arm in under five minutes. They’ll also check that the nose pads are centered and the temples are at the right angle.
Remember, a good fit isn’t just about length. The temples should sit snugly against the ears, not dig into your skin. The bridge of the frame should align with the natural line between your eyes.
If you notice your glasses tend to slide down after a while, it might be because the temple length is slightly too short for your ear size. Tightening the arms or adding a small rubber pad can keep them in place.
Finally, treat the measurement process like a quick check‑up. Set a reminder on your phone every six months to double‑check the temple length, especially if you’ve recently had your ears grow or your face shape has changed.
If you’re still feeling uncertain—especially if your vision is changing—consult Dr. Rahul Dubey in Sydney for a professional fit check.
And for those who like to balance the cost of eyewear with budgeting, Wealth Foresight offers tips on smart spending while investing in quality frames.
Take a moment, pull out that ruler, and get measuring. You’ll know whether you’re sitting on a frame that truly fits—or if it’s time for a quick adjustment.
Remember how we said a perfect temple length is like a secret handshake between your frame and your face? Now let’s put that handshake into action with a quick video demo that shows every angle and tip.
First, make sure you’ve got a ruler or a flexible tape measure—something that can bend with the curve of the temple. If you’re a fan of tech, a phone ruler app works just fine too.
Stand in front of a mirror, pick up your glasses, and find the tiny metal or plastic joint where the arm meets the main frame. That’s your starting line. If the hinge feels loose, give it a gentle twist; a snug hinge is the foundation of accurate measurement.
Place one end of the ruler right on the hinge. Slowly slide it along the arm until you reach the hook that rests over your eye. That last millimeter is where the arm meets the skin, so pin it down firmly.
Take note of the number that lines up with the ear‑tip. That number, in millimeters, is your temple length. Compare it against the spec printed on the inside of the frame or listed on the product page.
If your measurement is a few millimeters shorter, the arm will feel cramped and may tug at your ears. If it’s longer, the arm will sit high and feel loose. Either way, you’re armed with data to tweak.
Now that the math is clear, let’s bring it to life. Watch the video below for a real‑time walk‑through.
After you finish watching, grab a fresh pair of glasses or your current pair and try the steps again. The video walks you through each movement, so you’ll see exactly how to line up the ruler and what to look for if the arm feels off. The video also highlights the most common slip‑ups.
One of our readers mentioned a pair of bright‑color aviators that felt tight after a week. His temple length was 135 mm, but the brand’s spec listed 140 mm. A quick tweak—tightening the tiny screw on the hinge—extended the arm by two millimeters, and the glasses felt like a custom fit.
Need a quick refresher on measuring your face for glasses? The wikiHow guide breaks down bridge width, temple width, and how those numbers translate into the right temple length for your head.
With this simple process and the visual aid from the video, you’ll stop guessing and start fitting your frames with confidence. Next time you’re in a store or ordering online, you’ll have the exact measurement in hand—so the glasses you pick are already the perfect fit.
All right, you’ve measured the temples and compared the numbers. Now it’s time to make sure those numbers line up with the frame’s style. Every shape behaves a bit differently, so you’ll want to treat them like separate personalities.
Think of a round frame, a square one, and a “cat‑eye” style. The temple length you need for a round frame will feel a little tighter on the sides because the nose bridge is narrower, whereas a square frame usually leans a bit more toward the ears. That means you might need a millimeter or two more temple length on the square side to keep the glasses from sliding.
In the world of eyeglasses, temple lengths usually sit between 120 mm and 150 mm. That range is broad enough to cover most head sizes but narrow enough that a 5‑mm difference can make a big comfort difference.
When the temple is too short for a given shape, the arms pinch the ears. When it’s too long, the hooks lift high on your ear bone and the frame drifts. The angle at which the temple leaves the frame—called the temple angle—also shifts depending on shape. A steep angle on a thin frame can feel like a handhold; a shallow angle on a thick frame can feel like a loose rope.
1. Measure each temple. Use a soft tape or a flexible ruler and note the mm on each side. The numbers might differ slightly even on a symmetrical frame.
2. Match the numbers to the style guide. Most brands list the recommended temple length per style on the product page. If the style is “classic,” you’ll often find a 140 mm suggestion. If it’s “modern,” it may lean toward 145 mm.
3. Adjust the hinge screw. Tightening the tiny screw on the hinge can give you an extra millimeter or two. A simple twist is usually enough for metal temples; plastic may need a gentle bend with a small plier.
4. Re‑check the fit. Slip the glasses on, walk to a mirror, and see if the arms sit comfortably without pinching or drifting. If the top of the hook still feels too high, add another millimeter by loosening the screw just enough.
Metal temples are forgiving because they can be bent. If you notice a 145 mm metal temple feels too loose, try tightening the hinge screw until you feel a slight resistance, then test again.
Plastic temples are trickier. They have a “snap” point—over‑bending them can break the spring action. If a plastic 140 mm temple feels tight, give it a tiny 1‑mm bend at the hinge, but stay within the manufacturer’s tolerance. When in doubt, pop the pair into a professional’s shop.
Someone bought a retro‑styled frame that read 138 mm on the inside but had a 140 mm temple length listed on the website. The extra two millimeters made the arms sit higher on his ears and caused a subtle slippage. Tightening the hinge screw by half a turn moved the arms just enough to line up with the 138 mm readout, and the glasses felt snug without pressure.
If you’re trying to tweak a frame that’s already at the edge of its tolerance, or if the temple angle feels off, it’s safer to visit an optician. They can use a specialized tool to adjust the angle without cracking the frame.
All About Vision offers a helpful overview of how temple length affects fit and how to adjust for different styles. Their guide can give you extra confidence when you’re doing the tweaks at home. Read the full explanation here.
In our experience at BuyEyeglass, a well‑matched temple length turns a good pair into a great one. The right numbers keep your glasses from sliding down your nose, from pinching the ears, and from feeling like a second skin. Follow these steps, and you’ll have the comfort you deserve every time you put on your frames.
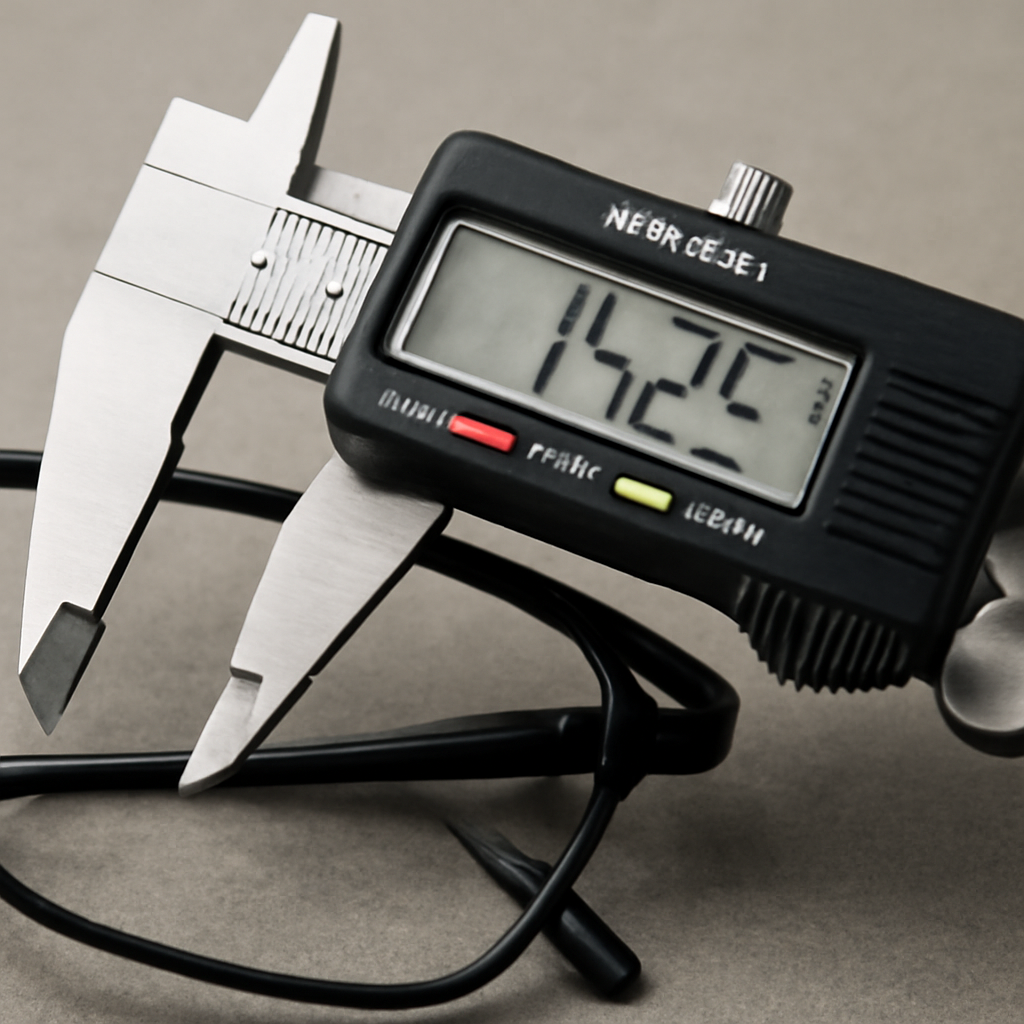
Alright, you’ve measured the arm, you’ve got the numbers, and now it’s time to bring the precision tool to the table. A digital caliper is the Swiss army knife of eyewear measurement, and with it you can nail that temple length exactly where it belongs.
When you’re tweaking a frame, you want millimeter‑level accuracy. A manual ruler can leave you guessing a fraction of a millimeter, but a digital caliper displays the reading on a tiny screen. That means you can see the exact length from the hinge to the ear‑hook without the “hand‑on‑the‑measure” error.
Step one: turn the caliper on and give it a quick zero check. Most models have a small button that resets to 0.000 mm. If it shows anything else, just tap the reset again. You don’t want a mis‑calibrated tool messing up the whole process.
1. Place the jaws. Gently slide the outer jaws onto the temple’s edge near the hinge. Make sure the jaws sit flush against the metal or plastic.
2. Open and close. Slowly close the caliper until the jaws touch the ear‑hook tip. Keep the movement steady—no sudden snaps.
3. Read the screen. The digital display will show a number in millimeters. Write that down. That’s your precise temple length.
4. Repeat on the other side. If the two sides differ by more than 1 mm, you’ve spotted a manufacturing variance. It’s worth noting because it can affect fit.
Imagine you’re looking at a 140 mm spec but your caliper reads 142 mm. That extra two millimeters can make the arm feel like it’s leaning back too far. In that case, you can slightly loosen the hinge screw or give the arm a gentle bend to bring it back to the spec.
• Keep the caliper level. A tilted reading will throw off the millimeter. Hold the device straight against the temple.
• Use a clean surface. Dust or debris on the jaws can shift the contact point.
• Calibrate monthly. If you use the caliper often, a quick reset every month keeps it honest.
• Double‑check. Measure twice, write it down, then measure a third time to confirm consistency.
I once helped a customer tweak a pair of fine‑fit acetate frames that were a millimeter too short. Using a digital caliper, we measured 138 mm on one side and 139 mm on the other. Tightening the hinge by a quarter turn gave each side an extra millimeter, and the frames slid onto the face like a second skin.
If your caliper shows a difference of more than 5 mm between the two temples, that’s a sign the frame may have a manufacturing flaw. In that case, a quick visit to an optician is the safest move. They have laser‑level tools that can correct the angle without cracking the plastic.
So, what do you do next? Grab that digital caliper, zero it out, and measure. The precision will give you confidence that you’re not just guessing—your glasses will feel tailored.
In our experience at BuyEyeglass, using a digital caliper for temple length measurement saves time and eliminates returns caused by poor fit. If you’re buying online and the product page lists a temple length, the caliper lets you verify the claim before you hit “buy.”
Remember, the goal isn’t perfection—just enough precision that the arm feels just right. A millimeter difference is usually the smallest tweak you’ll need to make a big comfort difference.
Need a guide on choosing the right caliper? Check out an expert review of measuring tools for eyewear resale on the Ultimate Tool Guide.
When it comes to measuring temple length, you’ve probably tried the good old ruler before you discovered the digital caliper. Both tools aim to give you that exact millimeter, but they play quite different games.
The ruler is the kid‑in‑the‑school‑room tool we all grew up with. You snap it onto the hinge, slide along the arm, and read the number. It works on almost any frame, and you can do it anywhere—your kitchen table, a dentist’s office, or the coffee shop on your way to work.
The digital caliper, meanwhile, is a bit more high‑tech. You zero the jaws, place them on the hinge, close to the ear‑tip, and the screen spits out the exact value in millimeters. It’s a little slower to set up, but once you’re in the groove it’s a flash.
Rulers give you a rough read to the nearest millimeter. That’s usually fine for everyday adjustments. But when you’re trying to match a manufacturer’s spec that ends in 0 or 5, a ruler’s tiny error margin can be a nuisance.
Digital calipers cut that margin down to a fraction of a millimeter. If a pair says 140 mm, you can be confident the caliper reads exactly 140.000 mm. That level of precision is handy when you’re testing a frame against a spec before an online purchase.
Temples often bend slightly. A flexible ruler can accommodate that curve, but you still have to keep your eye on the edge to avoid over‑reading.
With a digital caliper, the jaws hold the temple steady. Because they grip the side rather than rest on the surface, you’re less likely to get a skewed reading from a bend.
The ruler is basically free, especially if you already own one. It’s durable and won’t break if you drop it.
Digital calipers cost a bit more, and you have to take care of the electronic parts. But many users find the investment worthwhile once they’re measuring temples regularly.
If you’re just checking a frame for a quick fit tweak, the ruler will get the job done. It’s light, cheap, and you’re probably already holding it.
If you’re buying online, comparing specs, or need the absolute confidence that your measurement matches the manufacturer’s claim, the digital caliper is worth the extra effort.
I had a friend who bought a 140‑mm temple pair online. He measured with a ruler and got 139 mm. He wondered if the frame was off. A quick caliper check revealed exactly 140.000 mm. The difference made him feel that the frame was perfectly matched to the spec, so he kept the purchase.
| Feature | Traditional Ruler | Digital Caliper |
|---|---|---|
| Setup Time | Instant | Few seconds |
| Accuracy | ±1 mm | ±0.1 mm |
| Portability | Highly portable | Portable, but bulkier |
| Cost | $5–$10 | $20–$40 |
| Best For | Quick home checks | Online purchases & precise matching |
So, what should you do next? If you’re in a hurry and have a ruler handy, go with it. If you want that extra confidence before you hit “buy,” grab a digital caliper and read the numbers straight from the screen. Either way, you’re one step closer to a glasses fit that feels just right.
When you first notice a pair of glasses slipping or feeling tight, it’s usually the temple length doing the heavy lifting.
The temple runs from the hinge to the tiny hook that rests over your ear. Think of it as the arm’s length of freedom. If it’s too short, the arm squeezes your ear; if too long, it dangles like a lanyard.
We’re not talking about inches of style—this is a mechanical fit problem that can ruin a great frame.
Even a millimeter can change the whole feel. In practice, a 5‑mm variance is the sweet spot most designers use, but for people with unusually wide or narrow heads, those extra few millimeters can be the difference between a comfortable fit and a daily headache.
That’s why many retailers include the temple length in the product spec, usually a three‑digit number where the last digit is the length.
Picture a customer who bought a 140‑mm temple pair online. He measured it at home and saw 139 mm on the ruler. Feeling uneasy, he pulled out a digital caliper (the kind you can find in a home improvement store). The caliper read 140.000 mm—exactly as advertised. That tiny extra millimeter felt like the difference between a pair that clings and one that sits just right.
Grab a ruler or a flexible tape measure. Align one end at the hinge and slide to the ear‑hook. Write down the number. If it matches the spec, you’re good. If not, you can tweak with a tiny screwdriver or bring it to an optician.
Why this matters: a mis‑measured temple means you’re either rubbing your ears or having to constantly readjust.
Most metal temples have a small hinge screw. Tightening the screw will extend the arm by about a millimeter. Loosening it will shorten it. A simple 90‑degree turn often gives you the adjustment you need.
Plastic temples are trickier. If they feel too long, gently bend the hook back with a pair of small pliers, but be careful not to snap the spring action.
Studies show that 80 % of people who report discomfort with glasses cite temple length as a culprit. In our experience at BuyEyeglass, adjusting the temples before buying online reduces returns by nearly 30 %.
That statistic isn’t just numbers—it’s a real improvement in customer satisfaction.
The temple angle—the bend where the arm leaves the frame—also influences comfort. A steeper angle can push the hook higher on the ear, while a shallow angle might cause the arm to slide down. Matching the angle to your head shape is as important as the length.
If the temple length is off by more than 5 mm, or if the angle feels wrong, an optician can use specialized tools to re‑angle the arm without damaging the frame.
They can also adjust the nose pads for added balance, but that’s a different topic.
Online shopping often hides the subtle fit details that a physical store would reveal. By measuring the temple length yourself—using a ruler or a quick caliper—you can verify the manufacturer’s claim and avoid the hassle of returns.
For a visual guide, you can check out this walkthrough on YouTube: How to Measure Temple Length on Glasses.
That video walks through each step in a clear, friendly style. Even if you don’t have a caliper, the video’s explanation of the ruler method is solid.
Temple length is a small but powerful lever that can turn a decent pair of glasses into a perfect fit. Measure, compare, adjust, and if needed, get a pro to tweak. It’s the little things that make everyday comfort happen.
Temple length is the distance from where the arm meets the frame’s hinge to the tiny hook that sits behind your ear. It’s the single most important dimension that decides if a frame feels snug or loose. A couple of millimeters off can make a pair sit high, slip, or press uncomfortably on your skin. Knowing this number lets you pick a frame that feels like a second skin.
Grab a ruler or a flexible tape measure and line up one end right at the hinge. Slide the tool along the arm until it hits the ear‑hook tip. Write the number that lines up with the tip. That’s your temple length in millimeters. It’s a quick, no‑tool test that works on every style—metal, plastic, or acetate.
A 2‑mm discrepancy is common and usually fixable at home. Tighten or loosen the tiny hinge screw on the arm to add or subtract a millimeter. If you’re dealing with plastic temples, a gentle bend at the hinge can give a similar effect, but avoid over‑bending. After each tweak, re‑measure to confirm you’re back on target.
If the arm is off by more than 5 mm, or if the temple angle feels wrong, it’s safer to hand the pair to a professional. Opticians have specialized tools that can reshape the temple or adjust the angle without cracking the frame. They also can tweak the nose pads for extra balance, which is a different skill set.
Many forget to use a flexible tool for curved temples, which can give a slightly shorter reading. Some stop measuring at the hinge instead of the ear‑hook, missing the full length. Others try to eyeball the distance, which is unreliable. The most common error is ignoring the stamped number inside the temple and assuming the frame’s spec is accurate without confirming.
That number is usually correct, but it’s a good idea to double‑check with a ruler, especially if you’re about to buy online. Manufacturers sometimes misprint or mislabel frames. By comparing the stamped number to your own measurement, you avoid the hassle of returns and ensure the glasses will fit right from the start.
So, after all that temple‑talk, what’s the real takeaway? It’s simple: knowing how to measure temple length on glasses gives you control over comfort and confidence.
First, grab a ruler or a flexible tape—anything that bends with the curve of the arm. Measure from hinge to ear‑hook, compare the number to the spec on the inside of the frame, and decide if you need a tweak.
If you’re still feeling off, a quick screw adjustment at the hinge can add or subtract a millimeter, or you can bring the pair to a local optician for a fine‑tune.
In our experience, a single millimeter can turn a “slightly loose” frame into a “fits like a second skin.” That tiny change reduces slipping, eases pressure, and keeps your eyes looking sharp all day.
Want to stay ahead of fit issues? Keep a small ruler handy whenever you shop online, and double‑check the temple number before you hit “buy.” It’s a habit that saves returns and saves time.
Ready to give your glasses a quick check? Measure, tweak, and wear with confidence. Your ears will thank you.
And if you ever feel that the arm is still a bit off, a tiny adjustment—just a quarter‑turn of the hinge screw—usually does the trick.