Ever notice that after you wipe your lenses, a faint ghost line still lingers, like a smudge that refuses to disappear?
That’s the dreaded streak, and it happens to the best of us—whether you’re a busy professional juggling Zoom calls or a student racing between lectures. The culprit is usually a combination of the wrong cleaning material, too much pressure, and leftover residue from soap or sunscreen.
First, think about the water you use. Tap water can contain minerals that settle on the surface, turning a quick swipe into a cloudy film. If you rinse your glasses with distilled or filtered water, you eliminate that mineral build‑up right from the start.
Next, grab a microfiber cleaning cloth. Not every cloth is created equal; some cheap polyester blends actually scratch the coating over time. A high‑quality microfiber, like the one we include with many of our frames, lifts particles without dragging them across the lens.
Here’s a simple step‑by‑step routine you can try right now:
Why does this work? The circular motion prevents streaks by distributing the cleaning solution evenly, while the microfiber’s ultra‑fine fibers trap particles instead of spreading them later.
Real‑world example: a photographer I know complained that every time she cleaned her lenses on set, the images came out hazy. After switching to distilled water and a dedicated cleaning cloth—similar to the premium cleaning cloth that ships with Carrera sunglasses—her photos were crystal clear, and the streaks vanished.
Another quick tip: avoid paper towels, tissues, or your shirt. Those fabrics leave lint and can even embed tiny fibers into anti‑reflective coatings, which shows up as streaks later.
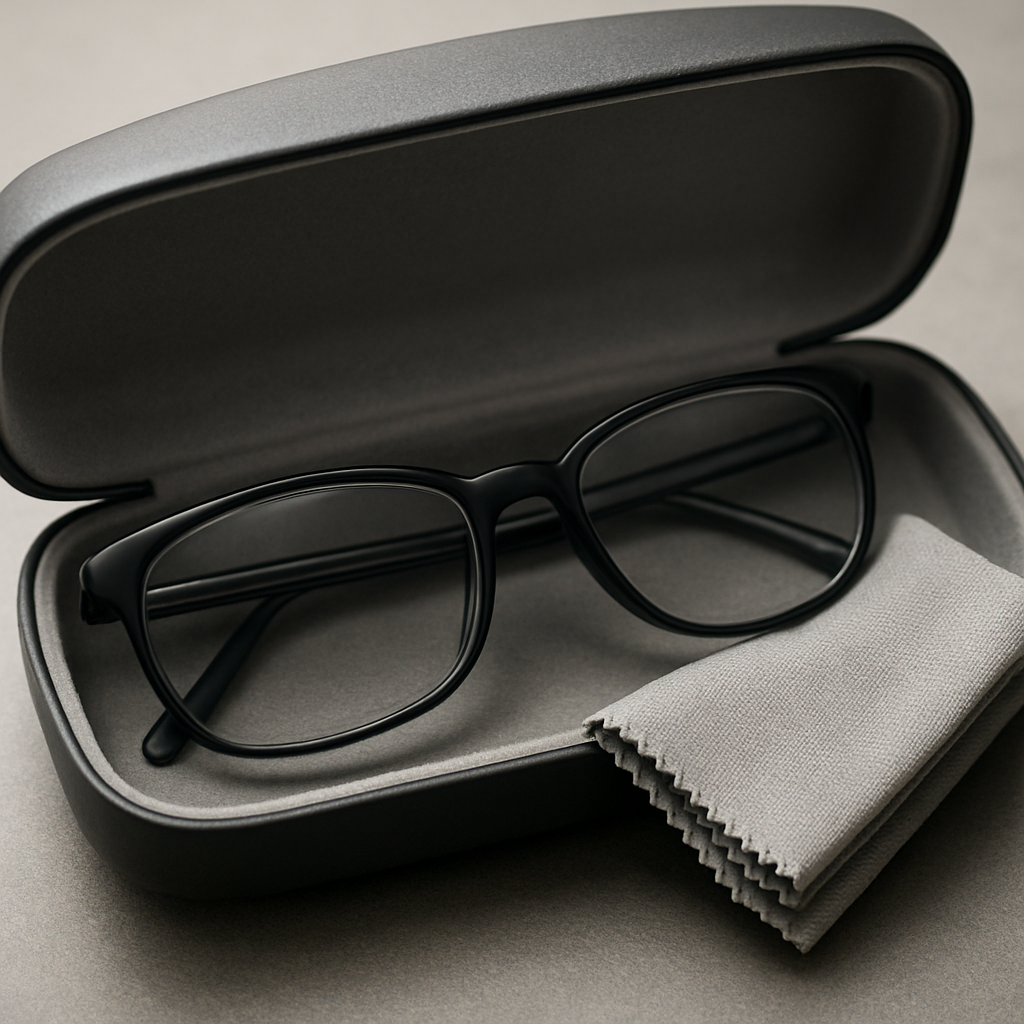
Finally, store your glasses in a hard case when you’re not wearing them. Dust settles quickly, and the case keeps the lenses protected from accidental smudges.
Stick to these habits, and you’ll notice a dramatic drop in streaks—so you can focus on what matters, whether it’s reading, driving, or simply admiring your reflection.
Cleaning glasses without streaks is simple when you rinse with distilled water, use a tiny dab of lens‑safe soap, and dry with a dedicated microfiber cloth in gentle circular motions.
Follow this routine each day and you’ll keep your lenses crystal clear, eliminating haze and letting you focus on reading, driving, or snapping photos with confidence.
Before you even think about wiping your lenses, take a minute to look at what’s in your cleaning kit. It might sound simple, but the difference between a spotless view and a ghostly streak often comes down to the tools you choose.
We all reach for the nearest tap, but tap water can be a sneaky culprit. Those tiny minerals—hard water deposits—leave a film that shows up as a faint haze once the liquid evaporates. If you have a filter at home, run the water through it first. Even better, keep a small bottle of distilled or filtered water on your nightstand; it’s inexpensive and eliminates mineral residue in one go.
Think about the last time you rinsed your glasses after a rainstorm. Did the lenses look clearer right away, or did a faint ring linger? That ring is usually mineral‑based. Swapping to distilled water takes that mystery out of the equation.
When it comes to soap, less is more. A tiny dab of a mild, fragrance‑free dish soap does the trick. Avoid antibacterial hand soaps or anything with heavy moisturizers—they can leave a greasy film that turns into streaks when you dry.
Here’s a quick test: dab a drop of soap on a fingertip, rub it gently between your thumb and forefinger, then spread it across a clean glass surface. If it feels slick but not sticky, you’re good to go. If it feels gummy, rinse and try a different brand.
Not all cloths are created equal. The cheap polyester blends you might find in a discount drawer can actually grind microscopic particles into the anti‑reflective coating. A dedicated, high‑quality microfiber cloth—like the one we include with many of our frames—has ultra‑fine fibers that lift dust without dragging it across the lens.
Grab the cloth by the corners, give it a gentle shake, and you’ll see how it fluffs up. That fluffiness is the secret sauce: it means the fibers are still intact and ready to trap particles.
Does this feel like a lot of steps? Trust me, once you have these three items at the ready, the actual cleaning routine becomes a breeze.
So, what’s the exact order?
That circular motion is key—it spreads the cleaning solution evenly and prevents streaks from forming as the water evaporates.
Still not convinced? Check out this short video that walks you through each motion, so you can see the technique in action.
After the video, give the process a try with the supplies you’ve gathered. You’ll notice the difference immediately—a crystal‑clear view with no lingering haze.
Now that you’ve got the right water, soap, and cloth, the next piece of the puzzle is the liquid itself. A good solution does two things: it lifts oils and dust without leaving a residue, and it evaporates quickly enough so you don’t end up with a water‑mark.
We like to keep it simple. Start with a clean container – a small glass jar or a recycled squeeze bottle works fine. Add about 1 cup of lukewarm distilled water. If you’re in a pinch, filtered tap water will do, but remember the mineral‑free rule.
Next, drop in a single teaspoon of fragrance‑free dish soap. The key is “a dab,” not a splash. Too much soap means you’ll have to rinse longer, and excess can dry into a film that looks like a streak.
Give the mixture a gentle shake. You don’t need vigorous shaking; just enough to blend the soap into a milky solution. If you prefer a little extra shine, you can add a few drops of isopropyl alcohol (70% or less). Alcohol helps the solution dry faster and adds a mild antibacterial boost – handy for glasses you wear all day.
Distilled water prevents mineral deposits, the mild soap breaks down skin oils, and the optional alcohol speeds evaporation. Together they create a balanced formula that cleans without over‑coating the lens.
Here’s a quick checklist you can keep on your bathroom counter:
Once you’ve mixed it, label the container so you don’t mistake it for a regular household cleaner. A small “Glasses Only” sticker does the trick.
Does this sound too “lab‑like” for a daily routine? Not at all. In fact, many of our customers tell us they love the control it gives them – you know exactly what’s touching their lenses.
Before you go full‑tilt on all your glasses, try the mixture on a single pair. Spray a light mist onto the lenses (or dab with a fingertip) and wipe with your microfiber cloth using gentle, circular motions. If you notice any haze after it dries, rinse again with distilled water and repeat. Most of the time the first pass is enough.
One tip we hear often: if your lenses have an anti‑reflective coating, avoid excessive rubbing. The solution is safe, but the motion matters. Light pressure, like a feather brushing the surface, keeps the coating intact.
Need a recipe you can trust? Glasses.com offers a solid DIY cleaner guide that aligns with this formula, confirming that a soap‑and‑water base is both effective and budget‑friendly.
And remember, the solution is only as good as the way you apply it. After spraying, give the liquid a second to soak – about five seconds – so it can break down the grease. Then, using your microfiber cloth, start at the center of each lens and work outward. This prevents streaks from being pushed toward the edges.
If you’re in a hurry, you can lightly dampen a corner of your cloth with the mixture and wipe in one smooth pass. Just be careful not to over‑saturate; a damp cloth, not a soaked one, is the sweet spot.
Finally, store the bottle out of direct sunlight. Heat can degrade the soap and change the mixture’s consistency over time.
By preparing your own streak‑free cleaning solution, you take the guesswork out of the process and give your glasses a consistent, spotless finish every single time.
Alright, you’ve got the right water, soap, and cloth. Now it’s time to actually clean the lenses without turning them into a foggy mess. Think of it like giving your glasses a gentle spa – you want to relax the surface, not scrub it with a steel brush.
First thing: wash your hands. Use a lotion‑free soap, rinse thoroughly, and dry with a lint‑free towel. If your fingertips are still greasy, you’ll just be moving that grime around.
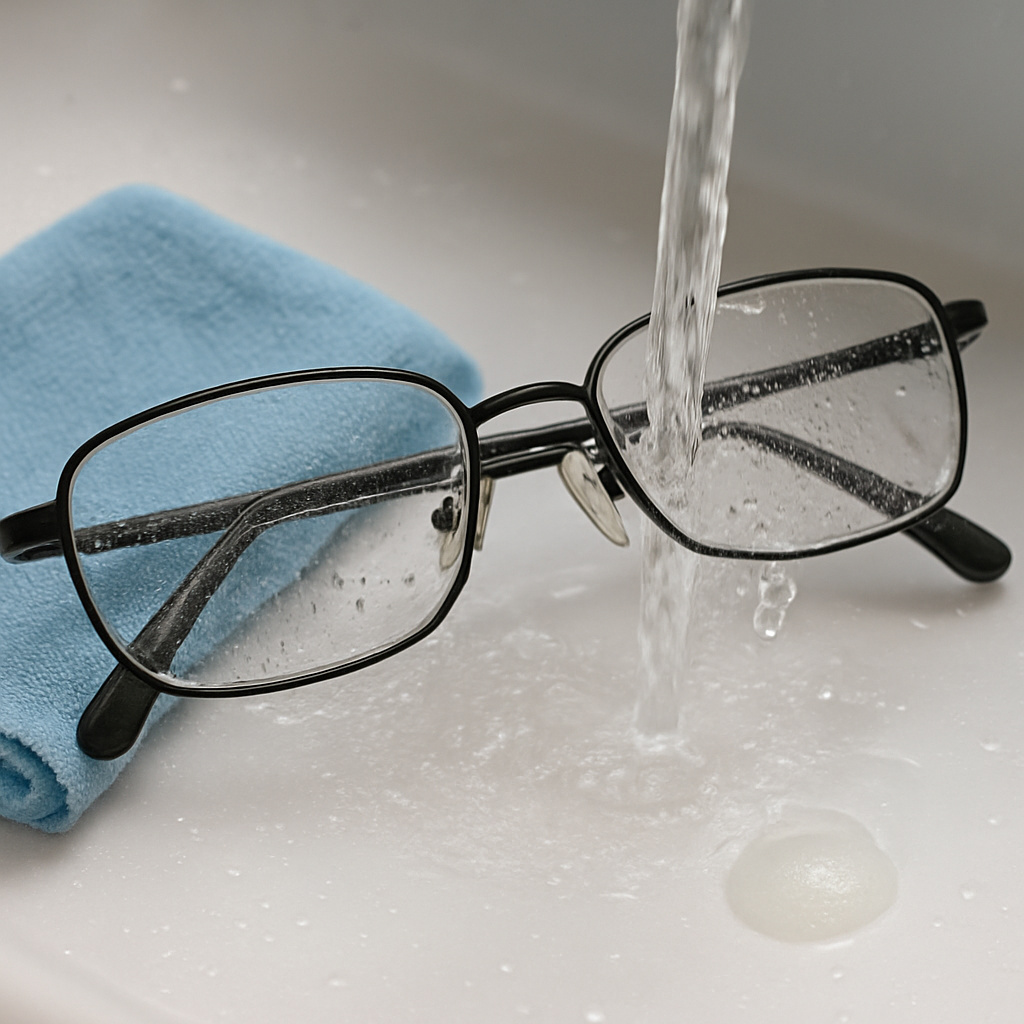
Next, hold the glasses under lukewarm distilled water. The water should be warm enough to loosen dust but not hot enough to stress any anti‑reflective coating. A quick 5‑second rinse does the trick.
Now comes the soap. Place a single pea‑size drop of fragrance‑free dish soap on each lens. You really only need a dab – more than that creates a film that takes longer to evaporate and can leave streaks.
Here’s where the technique matters. Using the pads of your fingertips, rub each side of the lens in a light, circular motion. Imagine you’re drawing tiny whirlpools on the surface; the motion spreads the solution evenly and lifts oil without dragging particles across the coating. Spend about 10‑15 seconds per lens, making sure you reach the corners where the frame meets the glass.
After the gentle rub, give the lenses another quick rinse under the same lukewarm water. Let the water run over the lenses for a few seconds to wash away any remaining soap. A soft shake will fling off excess water – you don’t want droplets hanging around that could dry into spots.
Drying is where most people mess up. Grab a clean, dry microfiber cloth and start at the center of the lens, patting outward. Avoid rubbing hard; you’re just absorbing water, not polishing. If you notice a stray smudge, lightly dab the area with a fresh corner of the cloth – no need for aggressive scrubbing.
Give the lenses a final glance under a light source. Any lingering haziness? That usually means a missed spot or a bit of soap residue. A quick second pass with the cloth usually clears it up.
When you’re out of the house, a pre‑moistened lens‑spray and your microfiber cloth are lifesavers. Spray both sides, wait a second for the solution to break down the oils, then wipe in the same circular pattern. Pre‑moistened wipes work too, but make sure they’re alcohol‑free to protect coatings.
Abbey Eye Care stresses the importance of using lotion‑free soap and a lint‑free towel when handling glasses – a detail that can make the difference between a spotless view and a ghostly streak according to their guide. They also recommend a light touch; think “feather‑light” rather than “scrubbing‑hard.”
Don’t breathe on the lenses and wipe with your shirt. That combination deposits saliva and fibers, which can etch the coating over time. Also, steer clear of paper towels – they leave lint and can create micro‑scratches.
Another frequent mistake is over‑saturating the cloth. A damp cloth is ideal; a soaked one drips excess liquid into the hinges and nose pads, potentially loosening screws.
Stick to this routine every day, and you’ll notice the streaks disappear faster than you can say “clear view.” Your lenses will stay bright, your coatings will stay intact, and you’ll spend less time fighting smudges and more time enjoying the world in focus.
So you’ve rinsed, soaped, and given those lenses a gentle rub – now what? The part most people skip is drying, and that’s where the sneaky streaks love to hide.
When the water evaporates too quickly, it can leave mineral rings or soap film behind. The trick is to control the drying process, not just hope the air does the work for you.
Grab a fresh, 100 % polyester microfiber cloth – the same kind you use for the initial dry‑off, but make sure it’s completely dry. Instead of rubbing, press the cloth gently against the lens, starting at the center and moving outward. Think of it as a soft kiss, not a frantic wipe.
If you feel any lingering dampness after the first pass, switch to a second, dry corner of the cloth and repeat the motion. The extra layer soaks up the last droplets without dragging particles across the coating.
Paper towels are abrasive and shed fibers. Those fibers can settle into anti‑reflective coatings and turn into ghostly lines that look exactly like streaks. A lint‑free microfiber is the only safe choice if you want a crystal‑clear finish.
Does it feel like over‑thinking? Not really – a few seconds of gentle patting saves you minutes of scrubbing later.
Once the lens is dry, give it a quick polish with the cleanest part of the cloth. Lightly glide the cloth over the surface in a circular motion; this removes any microscopic residue and gives the lens that subtle, glass‑like gleam.
For frames with anti‑static coatings (many of our premium models include this), a dedicated polishing side of the cloth works wonders. It repels dust, so the next time you clean, there’s less to worry about.
The corners where the lens meets the frame, and the area around the nose pads, often trap water. Use the tip of the cloth to dab those nooks, or gently blow on them with your breath (just don’t exhale directly onto the lens – that adds moisture).
And if you’re in a hurry, let the lenses air‑dry for 10‑15 seconds after the first pat. That tiny pause lets any remaining micro‑droplets evaporate evenly, preventing ring formation.
| Drying Tool | Moisture Level | Best For |
|---|---|---|
| Dry microfiber cloth (clean side) | Completely dry | General lens drying & final polish |
| Second dry microfiber corner | Dry, low lint | Removing stubborn droplets in corners |
| Anti‑static polishing side | Dry | Lenses with anti‑reflective or anti‑static coatings |
Give it a try tonight: after your usual rinse‑soap‑rinse routine, pause for a gentle pat‑dry, then finish with a quick circular polish. You’ll notice the lenses stay crystal‑clear longer, and those annoying streaks will be a thing of the past.
Remember, the goal isn’t speed; it’s control. A few mindful seconds of the right drying technique keep your glasses looking like new, day after day.
We’ve gotten you through rinsing, soaping, drying, and polishing – now it’s time to think ahead. Even the best cleaning routine will fall apart if you let the little things slip, because streaks love to creep back in when the lens environment changes.
So, what can you do every day to keep those ghost lines from returning? The answer is less about fancy gadgets and more about a handful of habits you can slip into your morning or bedtime routine.
That cloth that came with your frames is a silent hero, but only if it stays clean. After a few uses, fibers and dust start to embed, turning a once‑gentle swipe into a scratch‑risk.
Give it a quick wash in warm water (no detergent needed) and tumble‑dry on low. If you notice a faint haze on the cloth, it’s time for a fresh one. Keeping a spare corner folded in your case means you never have to compromise on cleanliness.
Leaving your glasses on a bathroom counter exposes them to steam and stray hair. A hard case with a soft interior does two things: it blocks moisture and it prevents tiny particles from settling on the lenses.
Do you keep a spare pair in your bag? Slip that case into a pocket of your backpack or purse, and you’ll avoid the “I just took them off and now there’s a streak” panic.
Walking from a chilly car into a warm house can cause condensation on the lenses, and that moisture can dry into rings if you touch the glass before it evaporates. Give your glasses a minute in the air, or gently pat them with a dry cloth before you start your day.
Ever notice a faint ring after a hot shower? That’s the same principle – the water droplets evaporate unevenly, leaving mineral spots. A brief breath‑dry or a soft pat is all it takes to keep the surface even.
Loose hardware can let water seep into the frame, creating a damp environment that attracts grime. Every few weeks, give the screws a tiny turn with a tiny screwdriver, and wipe the pads with a dry corner of your cloth.
When the pads are snug, you also reduce the chance of the glasses sliding down and smearing the lenses with skin oils.
When you’re in a rush and a speck lands on the lens, resist the urge to rub it with your shirt or the back of your hand. Instead, reach for the cloth and dab gently. A light tap removes the particle without spreading oils that later turn into streaks.
Does that sound too cautious? Think of it like handling a smartphone screen – a soft tap is safer than a swipe.
Putting these habits together creates a protective bubble around your glasses, so the effort you put into each cleaning session actually lasts longer.
Quick checklist you can print and tape to the inside of your case:
Stick to these five simple steps, and you’ll find the dreaded streaks fade into a distant memory. It’s not magic; it’s just a little extra mindfulness that keeps your view crystal clear day after day.
You’ve built a solid cleaning routine, but every now and then a stubborn streak sneaks back in. Don’t worry – it’s usually a tiny, fixable glitch, not a sign that your lenses are doomed.
First, ask yourself what you just did. Did you use a freshly laundered microfiber cloth, or was it a week‑old one that’s picked up dust? A dirty cloth often re‑deposits particles, turning a clean swipe into a faint line.
Next, think about the liquid. Was it plain distilled water, or did you add a dab of soap? Too much soap can leave a film that looks like a streak once it dries.
Lastly, consider the environment. Did you step from a cold car into a warm room and wipe the lenses right away? Condensation can trap oils and mineral droplets, which dry into ghostly marks.
1. Inspect the cloth. Hold it up to the light. If you see specks or a faint haze, give it a quick wash in warm water (no detergent) and air‑dry flat. A clean cloth is your first line of defense.
2. Check the cleaning solution. If you’re using a homemade mix, make sure the soap‑to‑water ratio is roughly one teaspoon per cup of water. Too much soap means extra rinsing – and extra chances for residue.
3. Re‑rinse the lenses. After the initial clean, give the glasses another quick rinse with distilled water. This flushes out any lingering soap or mineral particles before they have a chance to set.
4. Pat, don’t rub. Use a dry corner of your microfiber cloth to gently pat the surface. If you feel any moisture, switch to a fresh corner. Rubbing while the lens is still wet can spread the leftover film into a line.
5. Examine lighting. Hold the glasses up to a bright, even light source. Streaks often become visible only under certain angles. If you spot a line, it’s usually a spot you missed during the wipe – go back and dab that area.
6. Look at the frame. Sometimes the problem isn’t the lens at all. A loose nose pad or hinge can let water seep into the frame, creating a wet pocket that dries unevenly. Tighten any loose screws with a tiny screwdriver and wipe the pad area with a dry cloth.
Water‑spot streaks. If you live in an area with hard water, even distilled water can pick up minerals from the tap before you fill your bottle. Store your cleaning bottle in a sealed container and refill it with freshly boiled, then cooled water.
Coating‑related haze. Anti‑reflective coatings are sensitive to abrasive particles. If you notice a haze that won’t disappear, it might be microscopic scratches. In that case, stop using any abrasive cloths and consider a professional coating polish.
Fog‑related lines. After a hot shower, the lenses can fog, and wiping the fog away can smear oils into streaks. Let the glasses air‑dry for a minute, then give them a quick pat‑dry with a clean microfiber.
Run through this list the next time a streak shows up, and you’ll usually pinpoint the culprit in under a minute.
Remember, streaks are rarely a sign of a broken lens – they’re just tiny reminders that a step was missed. By troubleshooting methodically, you keep your glasses crystal clear and your routine hassle‑free.
We’ve covered everything you need to know about how to clean glasses without streaks, from the water you use to the tiny dab of soap and the gentle pat‑dry that makes all the difference.
Remember, the magic lives in three habits: distilled (or filtered) water, a clean microfiber cloth, and light, circular motions. If any one of those slips, a ghost line is likely to appear.
So, what should you do next? Grab your bottle of distilled water, give your cloth a quick wash, and run through the quick‑check checklist before each cleaning session. A minute of mindfulness now saves you dozens of frustrating wipes later.
In our experience at BuyEyeglass, customers who treat their lenses like a delicate screen see far fewer streaks and keep their coatings looking fresh for years. It’s not a gimmick—it’s simply consistent care.
Finally, keep a spare microfiber in your bag, store your glasses in a hard case, and give the hinges a tiny turn every few weeks. Those tiny habits create a protective bubble that keeps your view crystal clear.
Ready to enjoy streak‑free vision every day? Put the routine into practice tonight and notice the difference tomorrow. Your glasses will thank you, and your eyes will love the clarity.
We recommend a quick wipe every day – just a light pass with a dry microfiber after you’ve taken them off. If you notice fingerprints or dust, give them a full rinse‑soap‑dry routine before bedtime. And on busy weeks, a brief spot‑clean with a pre‑moistened cloth will keep the lenses clear without over‑doing it.
Tap water works fine if it’s soft, but hard water leaves mineral deposits that turn into ghost lines. That’s why we usually suggest distilled or filtered water; it’s mineral‑free and won’t surprise you with streaks later. If you only have tap water, rinse the lenses a second time with distilled water or dry them immediately with a clean microfiber to minimize residue.
Pat, don’t rub. Grab a completely dry microfiber cloth and press gently from the center outward, then flip to a fresh corner for any lingering droplets. A quick pat‑dry absorbs water before it evaporates into rings. And if you feel a damp spot, just switch to a dry part of the cloth – no need to swipe hard.
Yes, but choose a mild, fragrance‑free dish soap – the kind you’d use for baby bottles. A pea‑size dab per lens is enough; more soap means extra rinsing and a higher chance of film. Avoid antibacterial or scented soaps because they contain additives that can cling to anti‑reflective coatings and show up as streaks.
Often it’s a missed step. A dirty microfiber re‑introduces particles, too much soap leaves a film, or you’re rubbing while the lens is still wet, spreading residue. Try a second quick rinse with distilled water, then pat‑dry with a fresh corner. If a line persists, it’s usually a spot you missed – dab that area again and you’ll see it disappear.
Absolutely. Moving from a cold car into a warm room creates condensation, and wiping that moisture can trap oils and minerals into lines. Let the lenses sit for a few seconds to let the fog evaporate, or give them a gentle pat‑dry before you start cleaning. A brief pause saves you a whole lot of frustration.
Treat it like a kitchen towel. After a few uses, wash it in warm water (no detergent) and air‑dry flat. If the cloth looks hazy or feels gritty, it’s time for a fresh one. Keeping a spare corner folded in your case means you’ll never have to clean with a compromised cloth, and your lenses will stay crystal clear.